Installing and configuring a SIP trunk on a Cisco 4331 Router can be complex. However, the process doesn’t have to be intimidating. This step-by-step guide will teach you how to quickly set up SIP Trunk on Cisco 4331 Routers, connect, and make calls immediately.
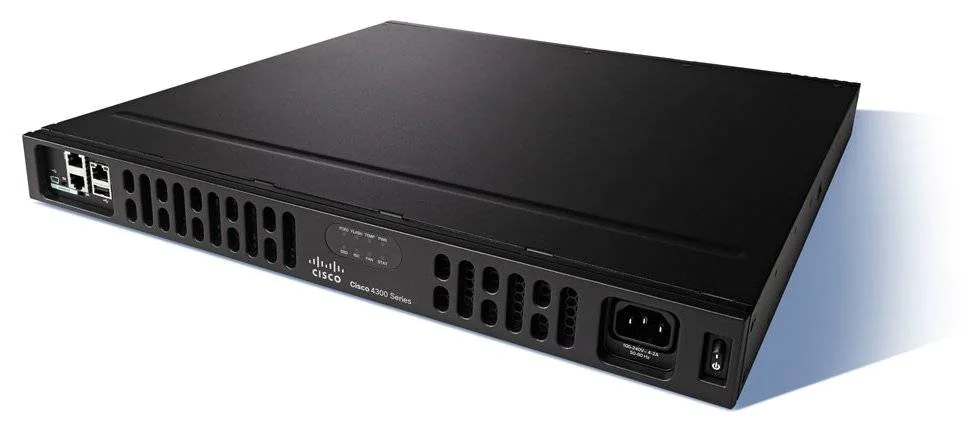
Since its inception in 2014, the Cisco Router 4331, part of the 4000 series services routers, provides all you need to host and route your calls efficiently and securely. While it may be expensive, it helps you scale your business and access the latest technologies.
Connect the Router to your Network.
To get started, connect the Router to your Internet network. This can be done by running an Ethernet router cable from a LAN port on your wall to the WAN port on the router. Once the cable has been connected, power up the router and wait for it to boot up.
When finished, you will see a solid green LED light indicating your device is ready for configuration.
Configure Routes and Access-List for Inbound/Outgoing Traffic.
With your router set up and connected, you can now configure routes and access lists to route incoming and outgoing traffic. First, define the network paths that your calls will take, such as setting up a route for private IP address space (10.0.0.0/16) to connect to the internet.
You can also create an Access Control List for further filtering to restrict inbound and outbound traffic from certain networks or address ranges. This can help ensure that only valid SIP traffic passes through the router’s gateway.
Create SIP Trunk Profiles.
After creating routes and access lists, you can create SIP trunk profiles for your router. This is the most crucial step in setting up a SIP trunk on a Cisco 4331 Router. A SIP trunk profile defines various parameters that control how the trunk communicates with the assigned VoIP provider.
It includes settings such as encryption and authentication methods, codecs supported, maximum call duration, and other technical details that help to ensure your calls are secure and run efficiently.
Create Dial-Plan Rules for Inbound/Outgoing Calls.
Once you’ve configured the SIP trunk profiles on your router, you’ll need to decide how to handle incoming and outgoing calls. To do this, create dial-plan rules that specify conditions and actions when a call is made or received.
These rules should cover scenarios such as how to respond if an outside caller leaves a voicemail and how to route a particular phone number to a certain location. All of these rules should be carefully considered before being implemented, as they will have a major impact on the quality and reliability of your calls.
Wrapping Up
Hopefully, configuring the SIP trunk on your Cisco 4311 router isn’t a herculean task. This article has explained the basics, and you need to know about the configuration process.
It’s important to make test calls once you’re done to ensure everything works as it should. If perhaps this fails after several tests, you need to run the CUBE traces to know the source of the problem and fix it asap. Use the comment section to drop any add-ups or questions concerning this topic.
Resources